What to do when your dog is (unexpectedly) expecting – I will preface all of this by saying I am not a vet nor a dog breeder. I’m just a dog lover who happened to adopt a dog who (little to our knowledge) was pregnant and we wanted to keep the puppies. After sharing my story with many people, I’m learning this is not an uncommon occurrence. If you find yourself in this situation like I did, stick around to read how I got through this and learn how to raise a litter of puppies through 12 weeks old.

Preparing for the litter
I found out my dog was pregnant around 45 days of gestation, which is right about the time the puppies will show up on x-ray. A typical gestation period for dogs is on average 63 days, so this meant I had about 2 weeks to prepare. With no previous experience of this, I was left with a short pamphlet the vet provided and the endless information on the internet.
The most important step is preparing a whelping area where the mom will birth the puppies and then raise them in for the first few weeks. It seems one of the most common ways to set this is up is with a kids outdoor plastic swimming pool. Fortunately, this was the end of April so Walmart had pools ready for the summer. I purchased one of these along with a pool noodle to zip tie around the inside of the pool. This acts as a railing for the mom to rest on without crushing the puppies, as they have a little pathway under the pool noodle to crawl through. If you’re not great at DIY, there are premade whelping boxes available, although they are a little pricey. We did end up upgrading to one of these later on, but the swimming pool worked perfectly for the first few weeks.
Check out the whelping box we used from Amazon here: https://amzn.to/43lQDC8 (As an Amazon Associate, I earn a small commission if you use this link to make a purchase.)


Once you have your whelping box ready, you will need a plethora of towels or sheets to place in it. This will be a messy process, so don’t use anything you plan to ever use again, as you’re going to end up throwing this all away. I started with a base water proof puppy mat from Amazon and layered this with old sheets and towels. You’ll want everything to be clean, so wash everything first before placing it down. Pick a quiet room or area of the house to use for the whelping area.
Some other supplies you might need include extra towels for drying off the puppies, a heat lamp, a kitchen scale for weighing the puppies, and disposable gloves.
Plan to have everything prepared ahead of time so you’re not scrambling when your dog goes into labor. It’s really just a waiting game between around days 58-72, as she could go into labor at any time. Be familiar with the signs of labor in a dog so you know when things are about to happen. Have a plan with your vet on what to do in an emergency. My local vet doesn’t have weekend or after hour call, so I was told to prepare to rush to the nearest emergency vet if something went wrong.
Caring for Newborn Puppies (0-2 weeks)

Once your dog goes into labor, you’ll want to be there to help in case she is having trouble or any of the puppies are in distress. Fortunately in my case, the mom did everything she was supposed to do with little intervention from myself. However, this is not apparently always the case.
As each puppy is born, they will encased in a sac that either the mom or you will need to break open so the puppy can get air. You will also need to make sure the umbilical cord is then cut, either from the mom chewing it off or you intervening if necessary. It is important for the puppy to immediately start nursing from the mom, as this is a critical time for the puppy to get the nutrients and antibodies necessary to help sustain the first weeks of life. Place the puppy right up to the mom so the puppy is able to nurse. Repeat this process until you know all the puppies have been delivered.
It is extremely helpful to know how many puppies are expected. This can be seen on x-ray after day 45, so discuss with your vet about getting this done so you know what to expect. Once all of the puppies have been born, make sure they are all able to get an equal opportunity to nurse. My dog only had four puppies, so I did not have to rotate any of them. However, for larger litters you may need to rotate the puppies so everyone gets to eat. Some puppies will be more aggressive about this than others, so make sure even the shy ones are able to get their turn.
Consider using a heat lamp to help keep the puppies warm, as it is very important they are in a warm environment. While I usually keep the house between 68-70 degrees, I did keep the house at 74 degrees while the puppies were young to ensure they had enough warmth. Caution: if using a heat lamp, make sure this is not directly on the puppies, as it can cause overheating and death. I was nervous about this, so I opted to stop using the heat lamp and make sure the room was warm enough on its own.
Once the puppies are born, they will stay exclusively in the whelping area for several weeks. The mom should be able to come and go as she pleases to nurse the puppies. My dog stayed mostly in the whelping area initially, only coming out to eat and use the restroom.
It is important to weigh the puppies daily to make sure they are healthy and getting enough food. I recommend getting a kitchen scale and a bowl for this process. I used an old bowl I had to place each puppy in for daily weigh ins. The puppies may lose weight after the first day or two, but should otherwise then be gaining weight every day. If a puppy is not gaining weight or starts to lose weight consistently, contact your vet to see if the puppy has a health problem. Monitor the puppies for any signs of difficulty feeding or distress. Unfortunately, some puppies do not make it for one reason or another. I did not have to go through this fortunately, but some puppies may pass away in these early stages.
Keep the whelping area as clean as possible to help prevent diseases, as the puppies have a limited immune system to fight off infection. The mom should help the puppies eliminate by licking them, as puppies cannot naturally do this on their own for the first few weeks. Have several sets of towels or sheets ready and change these out multiple times per day. I had a system in place of changing the towels and immediately throwing the dirty ones in the washer to have another set ready as soon as I needed it.

Early Development (2-4 weeks)
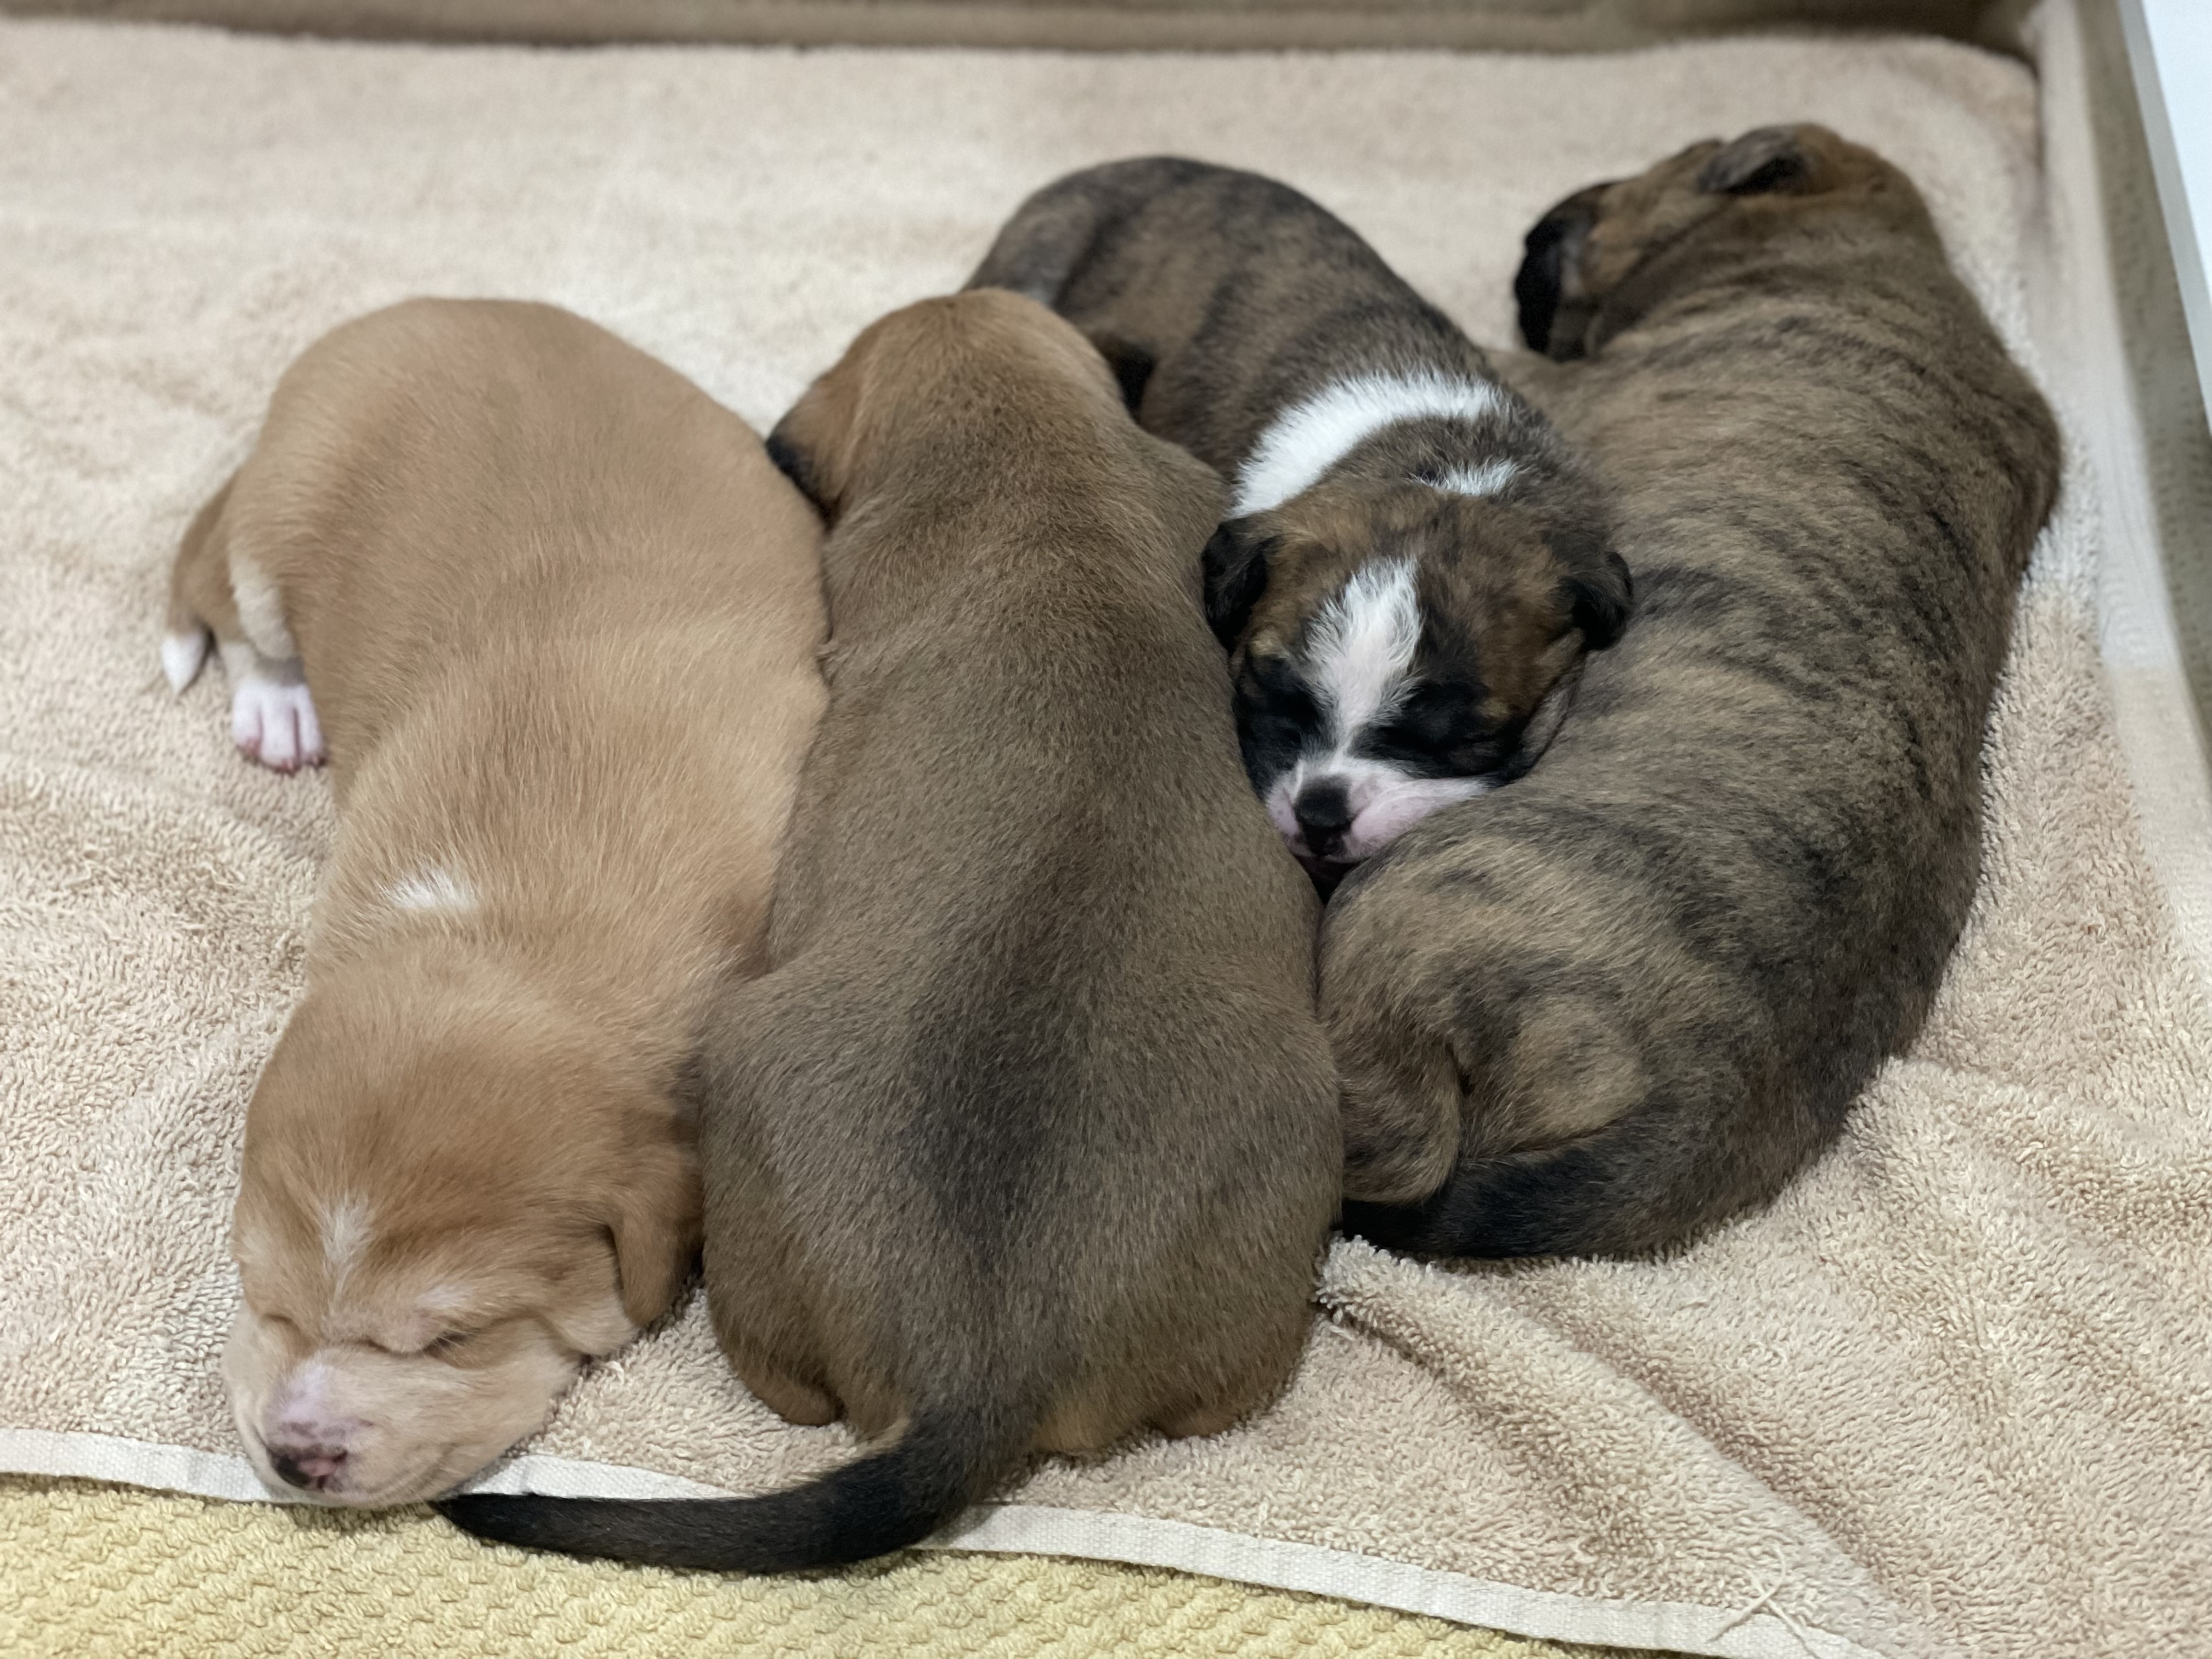
The first two weeks may seem boring, as the puppies don’t do much except sleep and eat. However, once they get to around 2 weeks old, they will start to open their eyes. I remember the first day my litter of puppies opened their eyes! It was so exciting to finally start to see them experience the world, although it does take time for them to start to see well.
This is when they will start to move around and explore their environment. You can start to interact with them to get them used to humans, although I didn’t keep them away from the whelping area for very long yet. I would pick them up each day to weigh them and then put them back in their area.
At 2 weeks the puppies will still be eating milk exclusively. As they get close to 4 weeks, you can begin to make them “puppy gruel” to get them used to eating real food. I used wet puppy food mixed with water for this. At first, the puppies weren’t sure what to do with this, so I would put some on my hand and let them eat off my hand at first. Once they understood this was food, they started eating it out of a small bowl or plate. They still will need milk too while transitioning to food. You can start introducing them to water at this time too, although they might not show much interest in this initially.

Socialization & Training (4-8 Weeks)
As the puppies reach this stage, the fun (and chaos) begins! The puppies can see, hear, and really start to move around. They will start to wean to puppy food instead of milk and by the end of this stage will be very interested in their food. This is the stage where you really want to start introducing them to new items and sounds. I had a large puppy play pen set up in the living room where the puppies would go to play and learn. Make sure you have plenty of puppy pads and water proof mats to have down, as the puppies can’t hold their bladders very well yet.

I made sure to play different sounds on the tv including videos of fireworks and loud sounds to get them used to these noises. This will help so they aren’t as afraid of these types of noises later in life. I also made sure to pick each one up a few times a day to get them used to handling. I would walk around the house holding them and showing different things like the microwave and other common household items that they will hear and see throughout their life. Running the vacuum helped to get them used to this.
At this point, they started to get interested in toys, so I had a variety of dog toys scattered in their play pen. We used a cardboard box as a toy bin for them, which they became obsessed with. Puppies will start to chew at this stage and they did like to chew on the cardboard. I did unfortunately have to take this away from them after a few weeks, as they were destroying the box.


Basic training does start at this stage, although don’t expect them to learn major commands yet. You can start to get them used to hearing their name and listening to a human voice. As part of potty training, you can start teaching them to go in a specific place on a puppy pad. The littermates will be very playful with each other at this point, so use this period to teach them how to play gently. The mother will likely be teaching them how to interact as well, so let her take the lead on this. Use this stage to get the puppies used to the big world around them to help prepare them for later in life.
Preparing the Puppies for Their Forever Homes (8+ Weeks)
Once the puppies are around weeks old, they should be weaned off milk and eating regular food. My puppies were still very interested in milk, so we did get the mom a weaning shirt to wear so the puppies couldn’t have access to anymore milk. She did end up getting mastitis, which is not uncommon for dogs when nursing puppies. This did require a vet visit to get antibiotics. The vet also suggested cabbage leaf soaks on the affected area to help with healing. It was extremely important that the puppies weren’t still trying to nurse, as this would aggravate the infection.
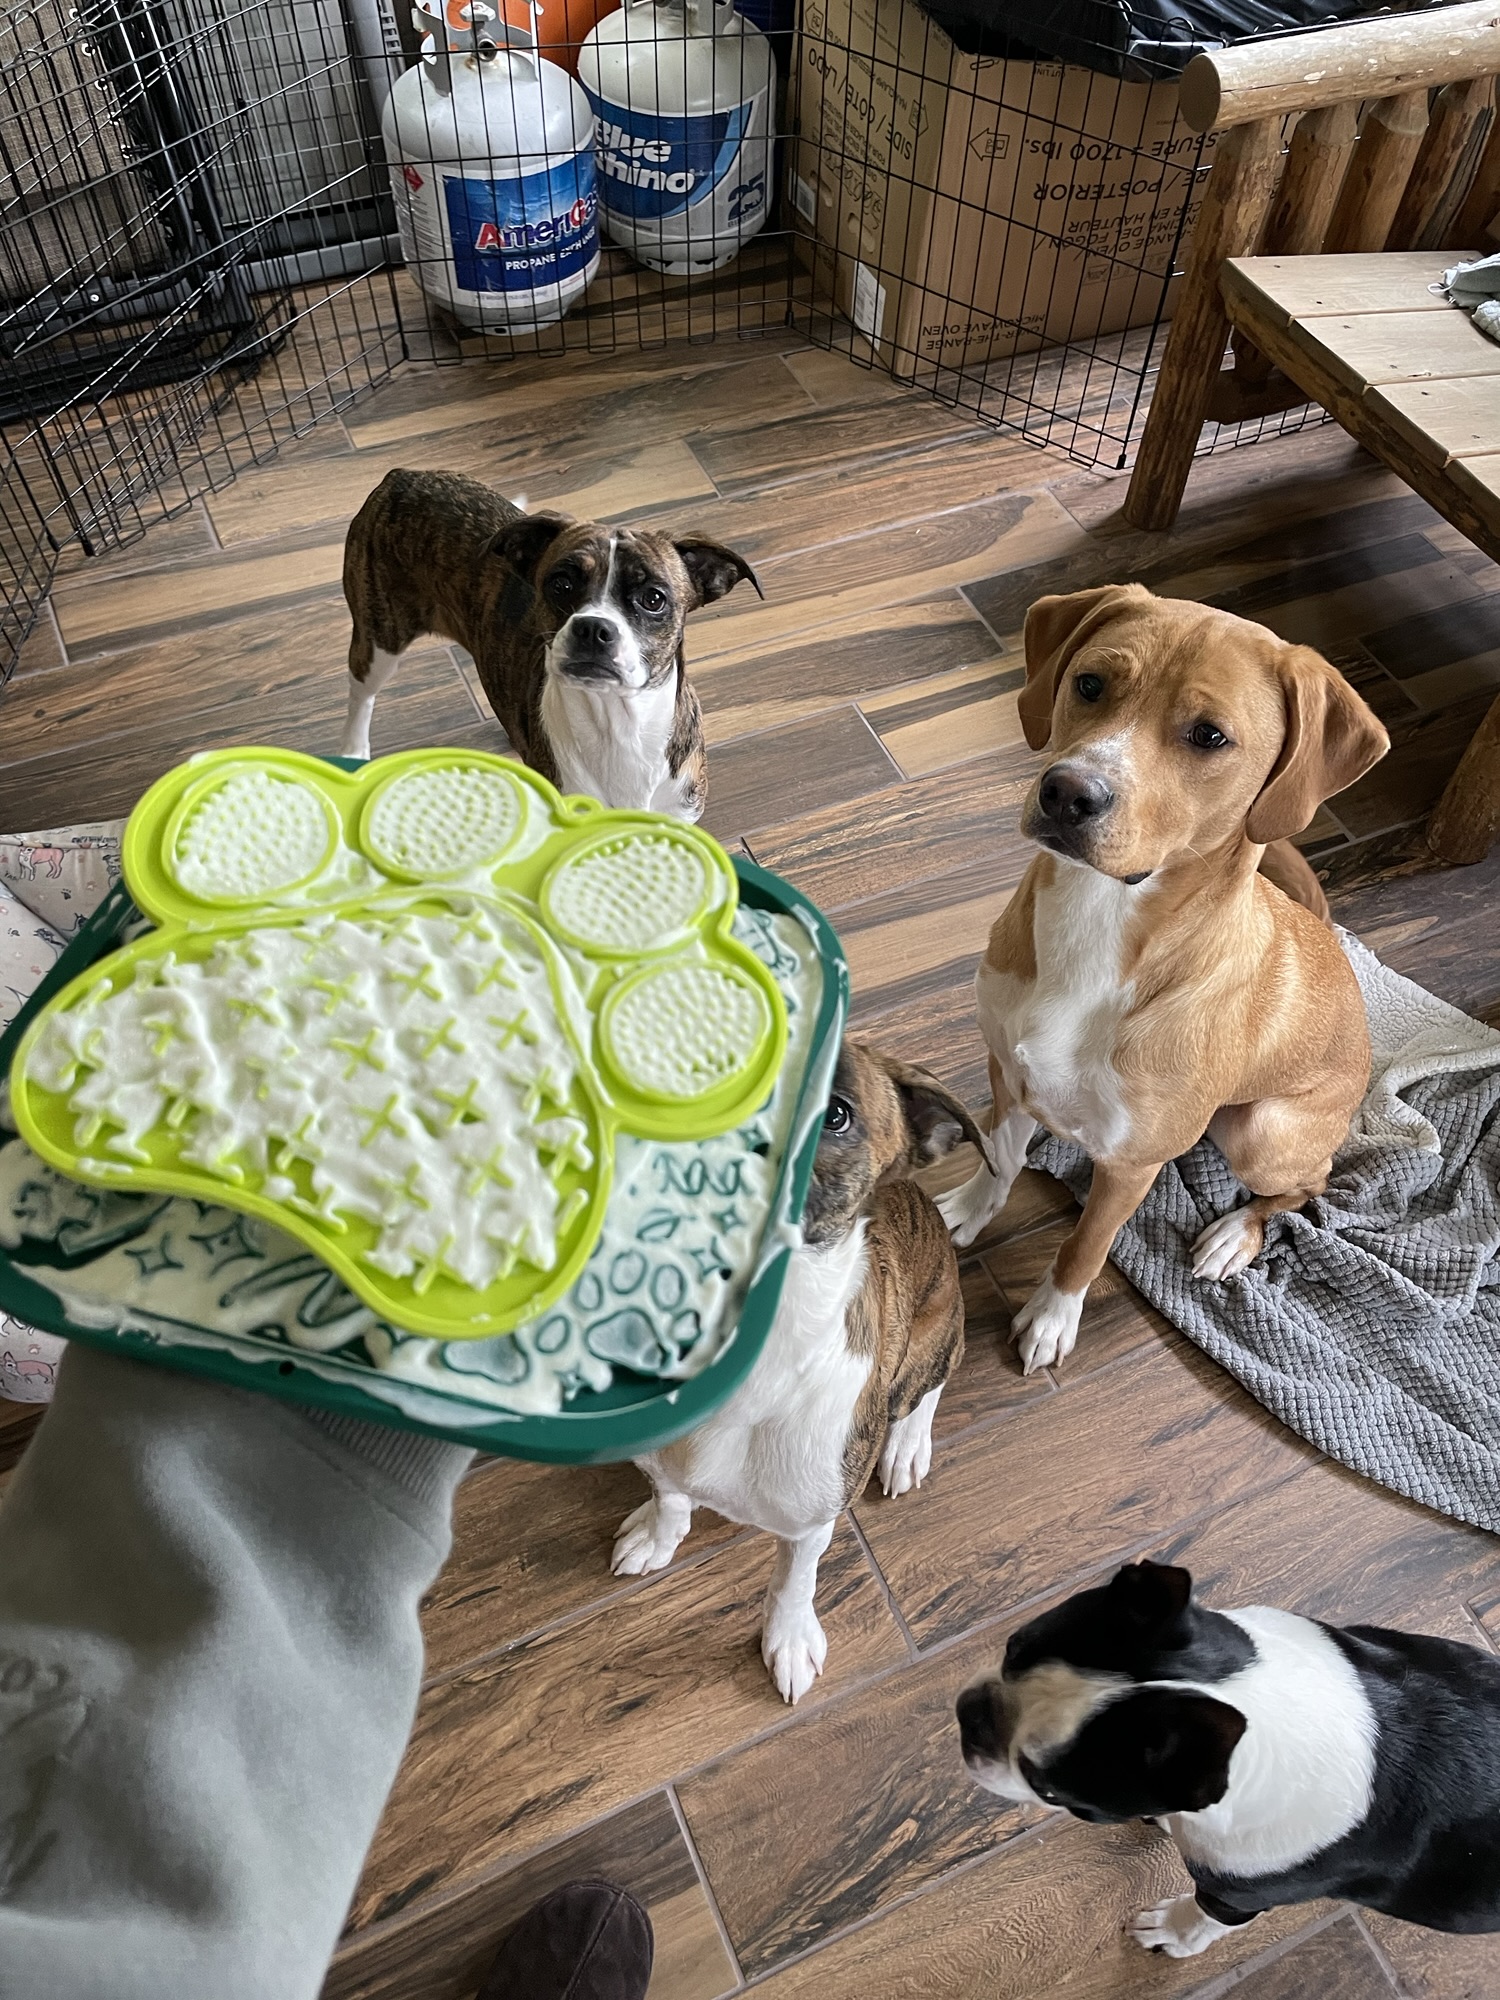
The puppies were content with a mixture of softened puppy kibble and wet puppy food. They can eat “buffet” style by getting a large puppy feeding bowl and having them all eat together. Just make sure each puppy seems to be getting enough food, as some of the puppies might eat quicker than others.

You want to continue to socialize the puppies to sounds and objects as well as being handled. You can start to trim their nails at this time, although you want to start handling their feet sooner so they are used to this.
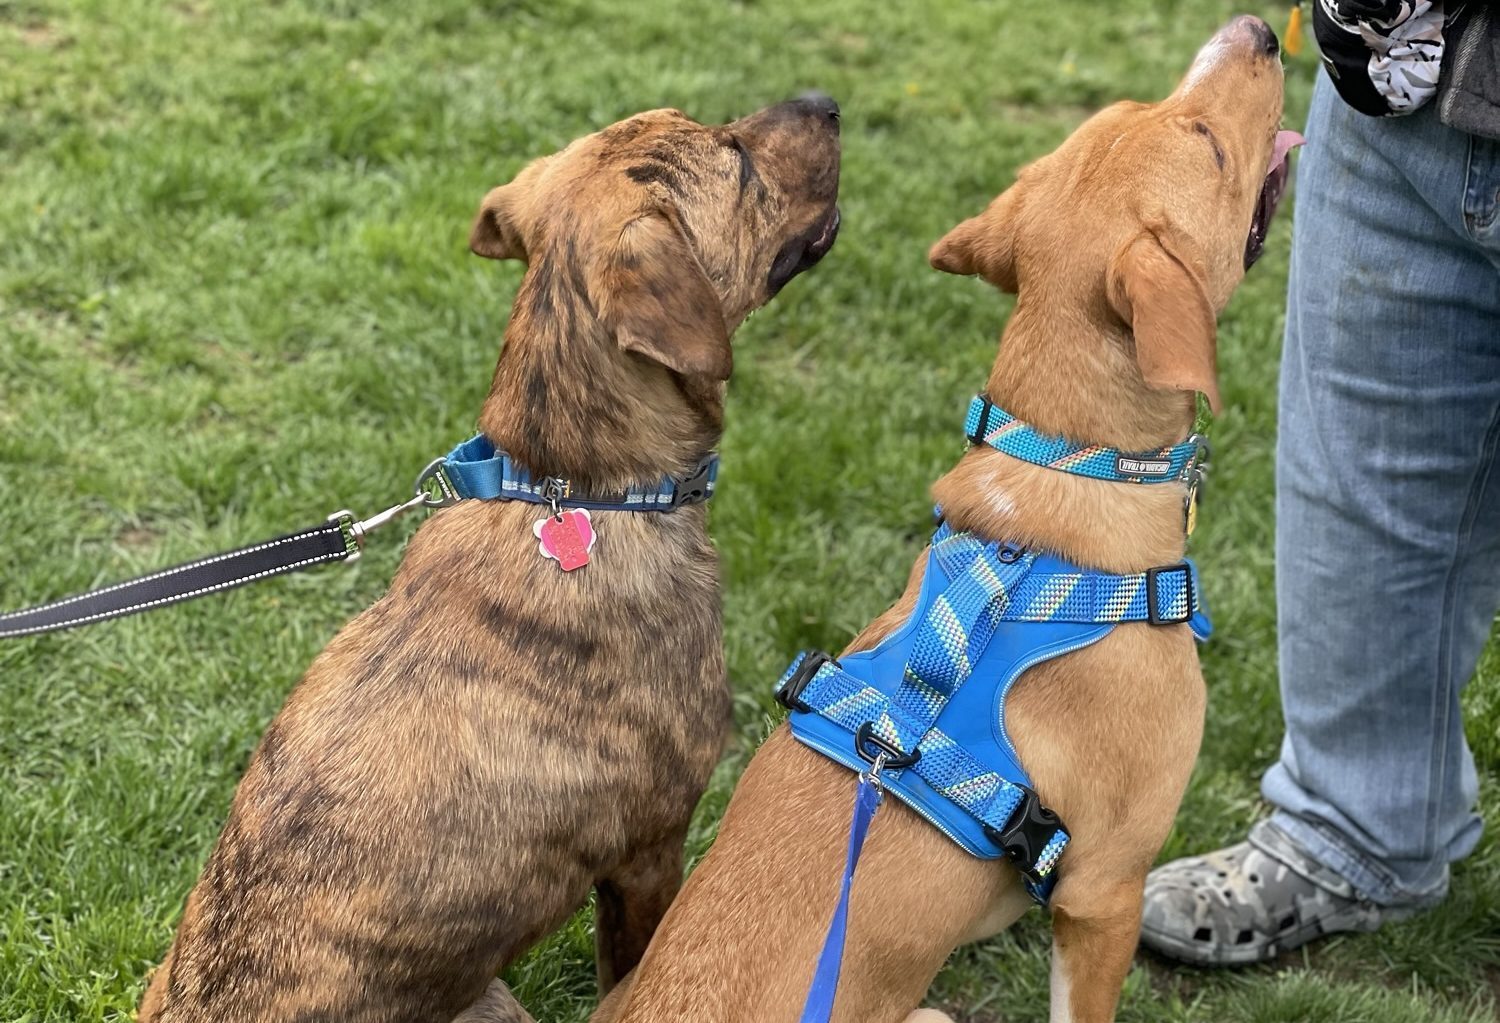
They can socialize with other dogs in your home as long as the other dogs are vaccinated and healthy. I was very cautious about allowing outside dogs or people to interact with the puppies until they were fully vaccinated (usually around 16 weeks old). This is not to say you can’t allow anyone to see them, but be wary that until the puppies are fully vaccinated, they can contract deadly diseases. Talk to your vet about when it is safe for more interactions to occur. You can take the puppies outside, but avoid going to public places for now.
If you are rehoming the puppies, plan who they will be going to. Screen any potential families so you know your precious puppies will be going to good homes. You can ask for references to help screen potential families. You may want to have a contract in place for the adoption itself. I kept two of my puppies and rehomed the other two to a close family member, so I did not have to go through this process. You may want to search online for more information on finding adopters and a contract for your puppies.
Typically, puppies will go to their new homes at 12 weeks old. As this time gets closer, you may feel many emotions about sending the puppies on their way. You may feel sad, but also relief, as raising a litter of puppies is quite an exhausting experience. Just know that if you properly selected families for them to go to, your puppies will grow up to lead wonderful lives!
Give the adopters a way to contact you if you’d like with pictures and updates. This could include your phone number or email or you could even create a private Facebook group for the adopters to join to post updates. Be proud that you successfully raised the puppies and are sending them to their forever homes. While this may come with a range of emotions, you did the best you could to prepare the puppies for their new homes.
Transition Tips for New Owners (What to send home with each puppy)
When your adopters come to pick up their new puppy, you’ll want to send them with a few items to help with the transition.
Consider sending each puppy with a new toy and blanket that smells like their old home. This will provide the puppy with some comfort if they are homesick initially.
You may also want to provide a collar and leash, as you will know what size each puppy wears at the time. Let the adopters know how big the puppies are when they are going to be adopted and roughly how big they might be (although you might not know this information if you don’t know both parents). This will help the adopters select a crate to bring to pick up the puppy.
It would be helpful to provide a small bag of dog food that the puppies were eating to help transition them to their new home. Some adopters might choose to continue the same food, while others may have plans to change food. It is always a good idea to transition from one food to the next, so it would be a nice gesture to help with that transition process in providing some of the old food.
Have paperwork ready to give to the adopters including all vet records for the puppy. This will include all vaccines given at that point and the dates so their new vet can pick up right where yours left off. This will ensure each puppy continues to have the proper health care. If you are having each adopter sign a contract, have that ready for the adoption day and keep a copy for yourself.
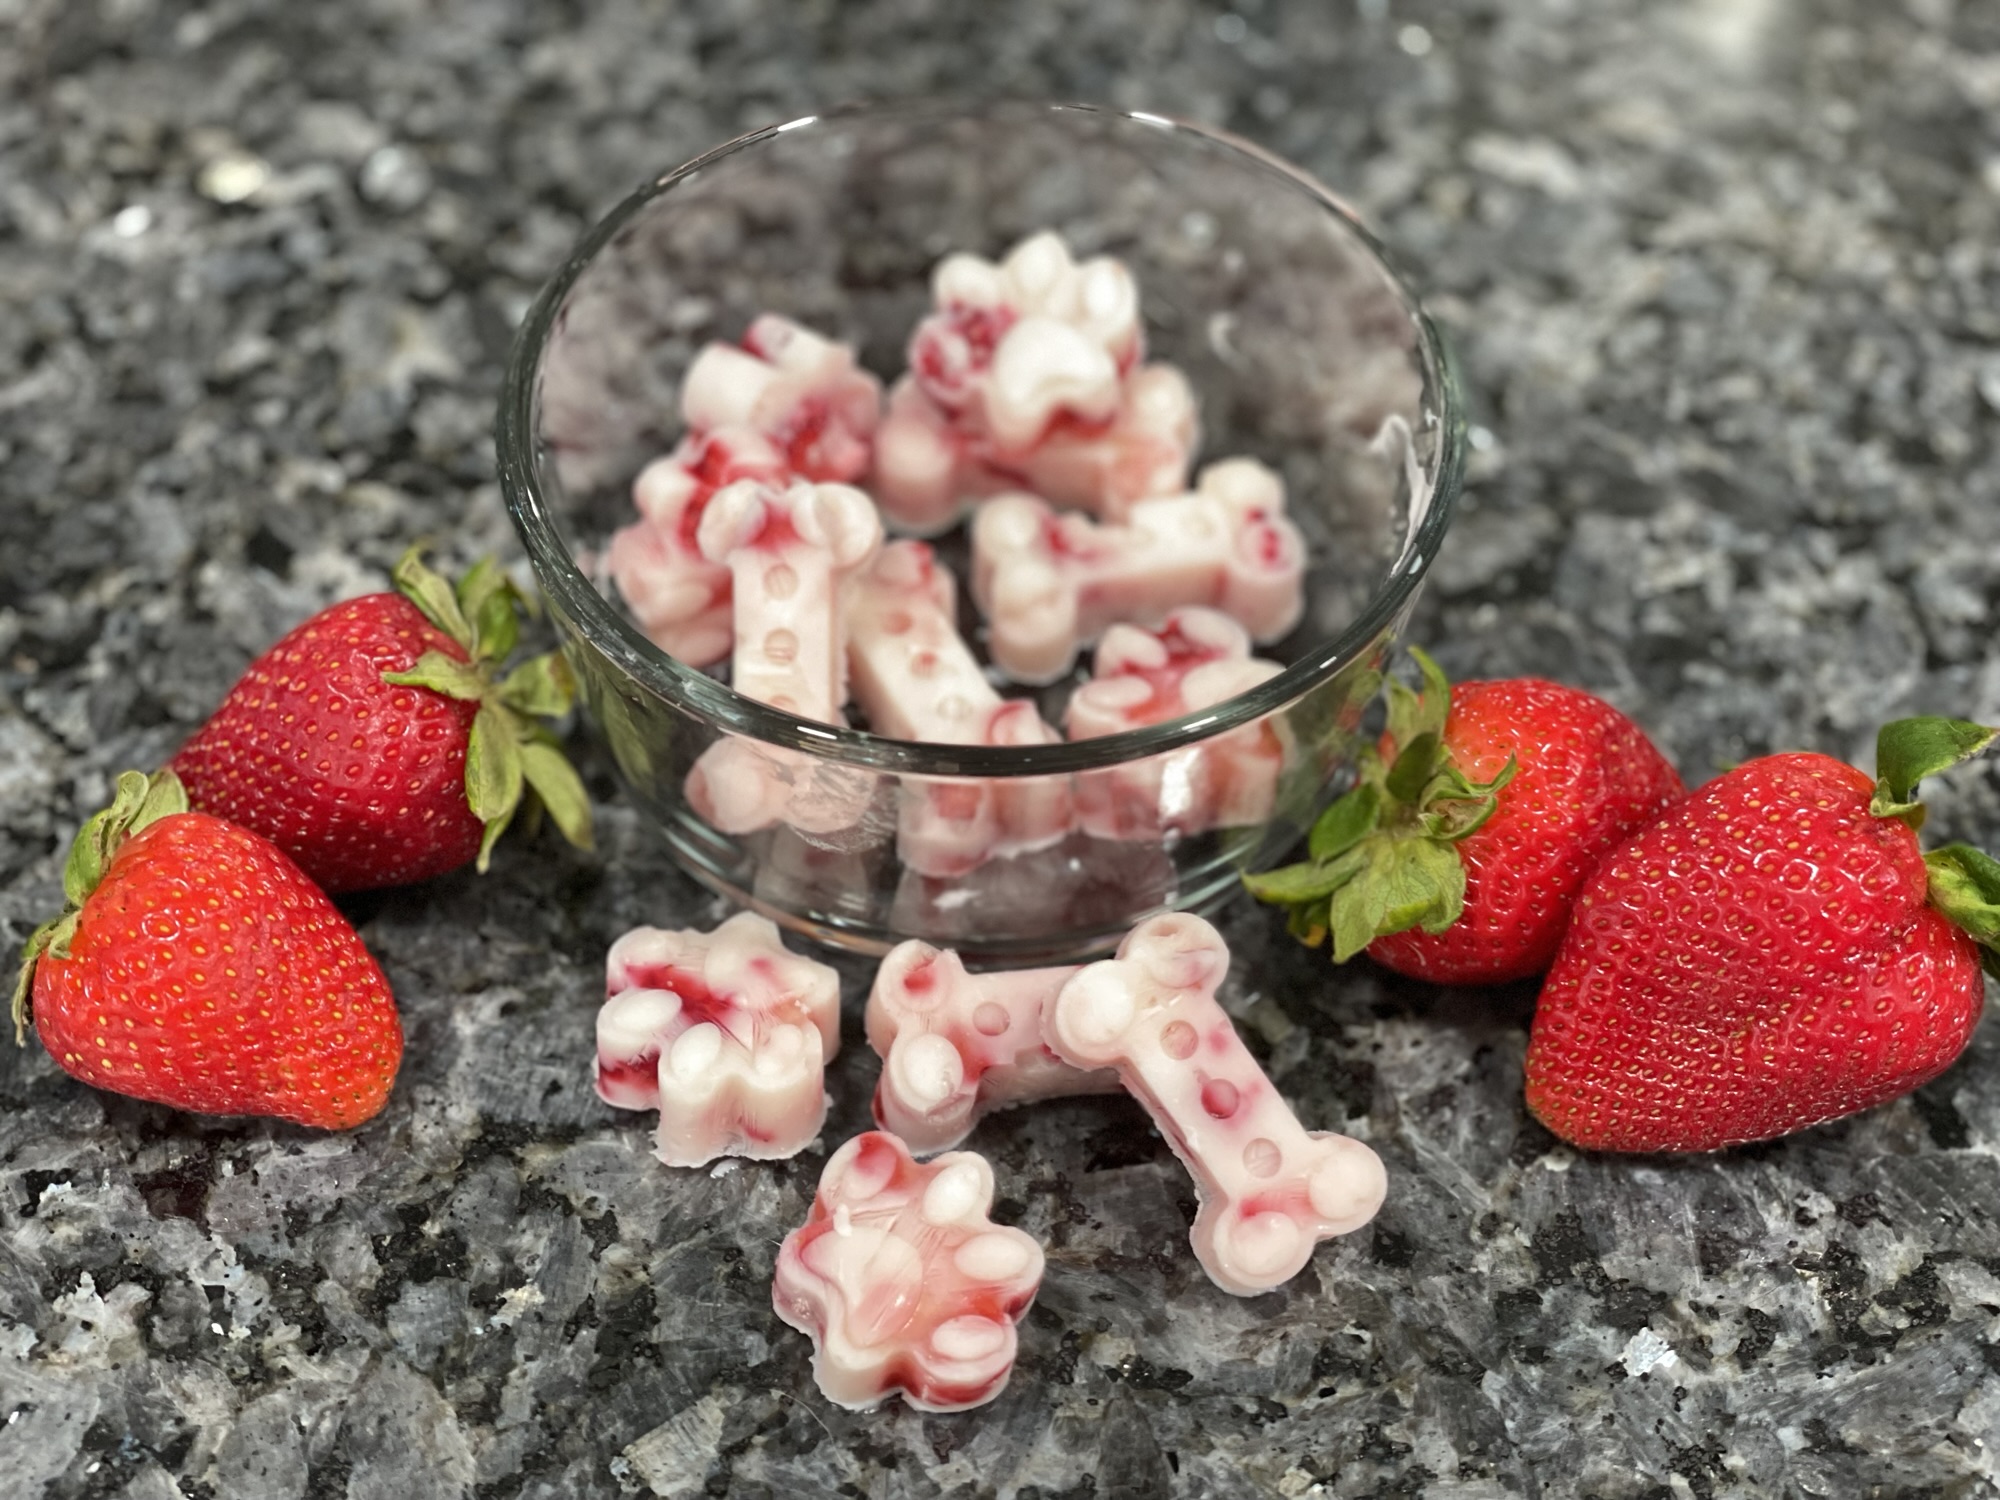
You might have a small bag packed with these items and maybe some goodies such as treats for each puppy to start their new home with. Having these essential items ready for each puppy will help them start their new life with ease with their new family!
Health and Vet Care for Litter of Puppies
You‘ll need to take the puppies to the vet several times while in your care for check ups and the essential vaccines. The puppies will have their first vet appointment between 6-8 weeks. At this appointment, they should receive a general check up and start the vaccine series. Distemper and parvovirus vaccines are critical to their health. Your vet will set up a vaccine schedule of how often they need to return and for which vaccines. There are the “core vaccines” and “non-core vaccines”, so discuss with your vet which ones they recommend for your puppies.

It can be overwhelming to bring all the puppies to the vet together. I would recommend having someone with you to help transport them. I only had 4 puppies, so it was manageable, although I imagine have more than this can be challenging. Using a soft zip up carrier was helpful to transport the puppies in. This can be heavy to carry with one person, so that is partially why I recommend having someone else with you. It can also be chaotic in the exam room watching all the puppies while listening to what the vet says, so it is helpful to have someone else come along to help with this. Be sure to keep the records of their vaccines so you can pass this along to their new owner.
Although I don’t condone unplanned breeding, you may find yourself in a situation where you have to decide if you are willing to raise a litter of puppies or not. While raising a litter of puppies may seem like a daunting task, with the proper planning and patience, you can successfully learn how to raise a litter of puppies to be ready to be sent to their forever homes!
Have any puppy-raising tips we missed? Share below to help fellow puppy owners with all the tips and tricks!


Leave a Reply